Power BI – Managing App Audiences
By: David Rohlfs
Introduction
When I get to work with people who are newer to Microsoft Power BI and especially the Microsoft Power BI Service, there are always questions on how to group people together for sharing reports. The normal assumption and way to do it until several months ago was to have a different workspace for accounting, sales, finance, marketing, manufacturing, etc. This isn’t the case anymore because of the addition of App Audiences. App audiences allow a user to send out one app from a workspace and hide reports and dashboards from specific groups.
This blog will be building off of a previous EPM Strategy blog called “How to Create an App on the Microsoft Power BI Service” that will be linked below.
In this blog we will go over when you should choose to utilize the audience ability while creating an app and also go through a walkthrough describing all of the steps to create an audience.
When to use it
The audience feature has a lot of different uses. The main idea is that you can create separate groups that can only see a portion of an app. There are many ways that you can setup the audiences to enhance your Power BI sharing experience like:
- Hiding specific dashboards from different sales teams.
- Creating an audience that only contains one member who should only have access to seeing one overview dashboard.
- Creating different audiences for who can use a report and who can use a dashboard.
- Creating audiences that reflect organizational structures, like associates, managers, c-suite, etc.
- Creating audiences that reflect organizational teams like sales, marketing, accounting, etc
As I talked about in the introduction, the way that we had to set this up before was by using different workspaces to manage each group. In a lot of cases this still is the best solution, but in a smaller business that is more relaxed with its security (although an app is totally secure and easily governed) just sending out one app and only having to manage one workspace could be the best situation.
There is only one problem with using an app to serve many groups and that is that you cannot hide specific pages inside of a report. If this is a problem for you, there are a couple of good situations to look into.
- You can post entire pages to dashboards. This means that you can hide specific dashboards from each audience while letting them keep access to the pages of the report they are allowed to access.
- You can create separate reports for each audience. This is the most likely option as in many cases you are probably already doing this. If not, see the next option.
- Create reports for each audience using the same semantic model (semantic model). If you already have a report for your entire organization that you want to break up, you could just pull down the semantic model that you have already published and copy and paste the existing visuals into your new report. Doing this will allow you to only refresh one semantic model in the workspace and have all of the reports refreshed. Then you just hide the reports that you don’t want that audience to view from the App Creator/Updater.
Walkthrough
Like I said before, we will not go through creating an app and all the nuances of that, but we will focus on the third audience page. This walkthrough will be an example of where we want to have a sales audience and an accounting audience. We have a workspace that has one report for the sales team, and one for the accounting team.
To start let’s get to our audience page.
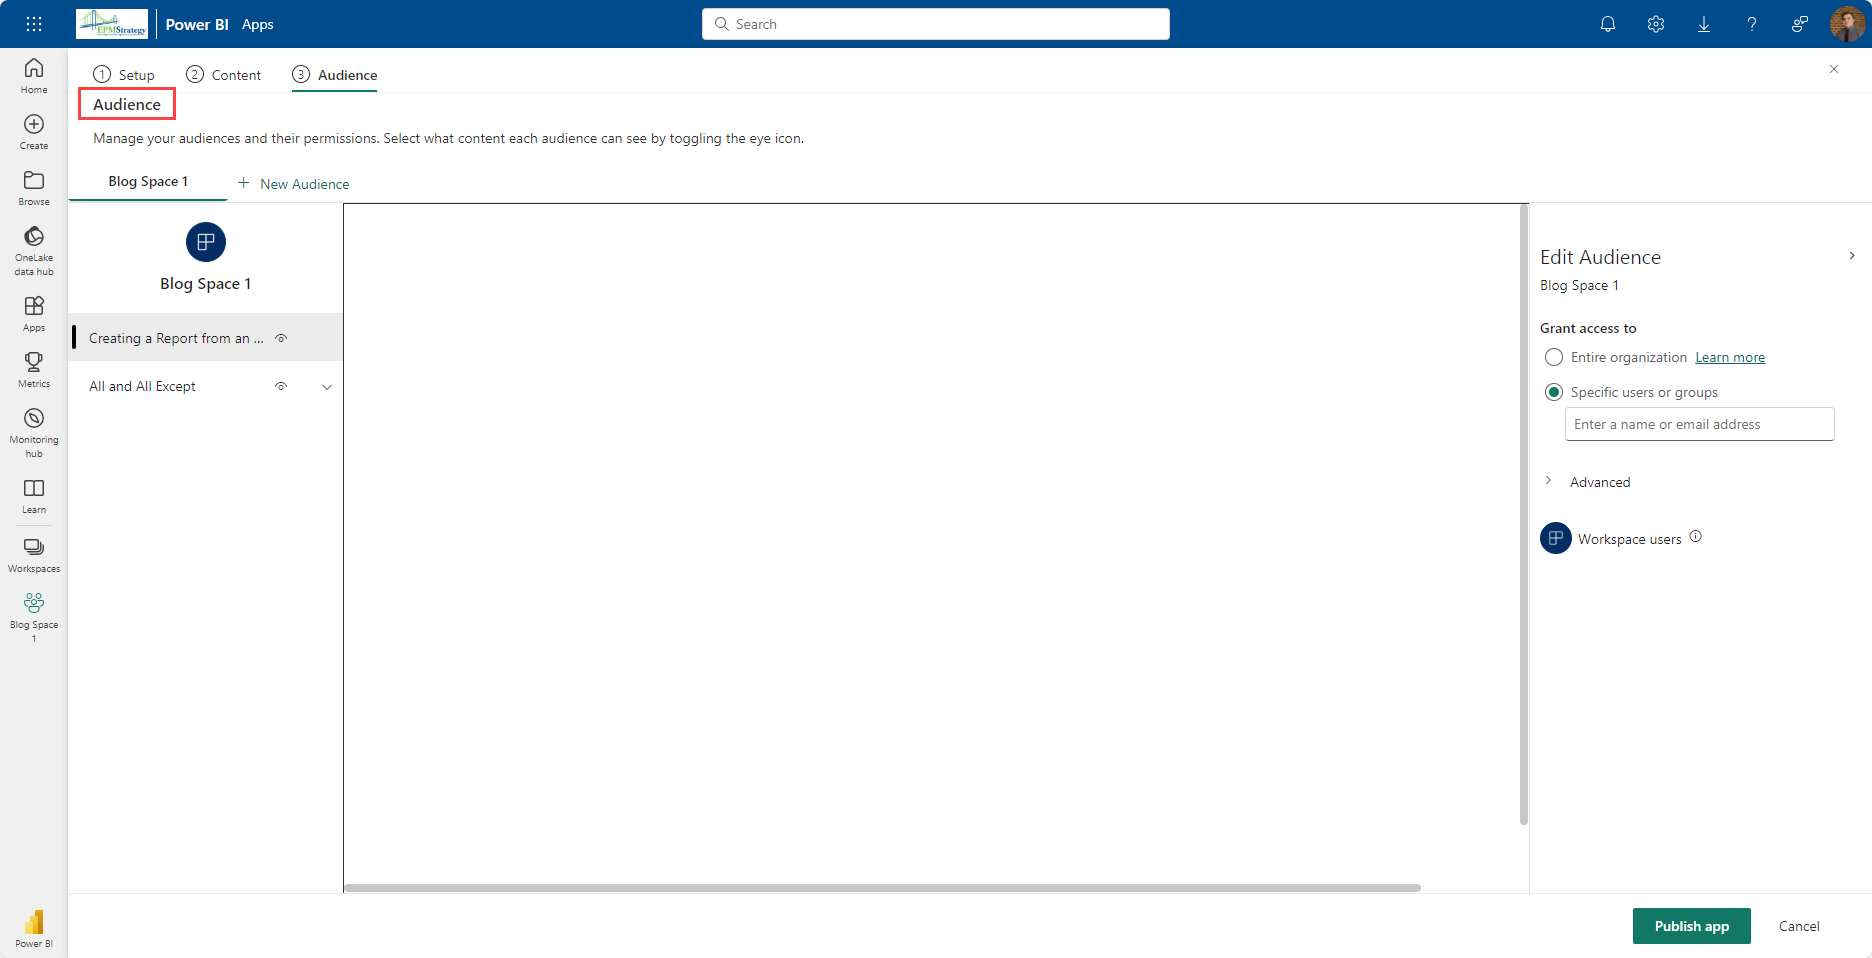
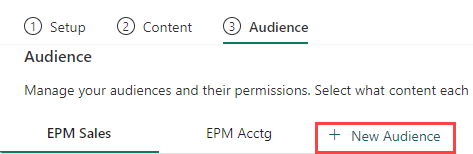
I want to have two different audiences in my workspace. One for my sales team called “EPM Sales” and one for accounting called “EPM Acctg”. To do this I am going to click on the “+ New Audience” button towards the top and rename my audiences respectively.
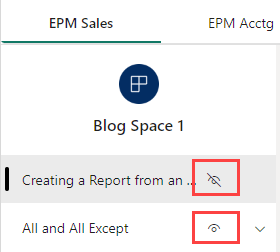
Next let’s make sure that my Sales group can’t see my accounting report and vice versa. I am going to click on the little eye that is next to my report name so that I see it is hidden for the sales group. Then I am going to do the same thing for my accounting group.
Now let’s go and add people to each of the audiences. In my sales group I am going to add all of my salespeople by entering each of their names or their email addresses. Depending on how or if your organization’s directory is set up, you may be able to share it to groups as well. I also went ahead and did the same process with my accounting group.

Once we publish the app the audiences will only have access to the reports you shared with that respective audience. The sales team will not be able to see the accounting report and accounting won’t be able to see the sales report.
Conclusion
Although the scenario that I set up in the walkthrough may not be practical for you, there are a lot of possibilities of sharing specific reports or dashboards to their respective audience. If you found this blog enjoyable, I recommend reading through some of EPM Strategy’s other blogs linked below.
Links Related to This Blog:
Comments
2 Responses to “ Power BI – Managing App Audiences ”
[…] Managing App Audiences […]
[…] Managing App Audiences […]
Leave a Reply
You must be logged in to post a comment.