Power BI: How to Create an App on the Microsoft Power BI Service
Introduction
Once you have got your report and published it to a workspace, you are left with a couple of questions or needs. Most of these revolve around how you share this report. When you get into it, there are two main ways to do this; the first being that you just share the workspace (link below for a blog about this); and the second is that you create and share an app.
In this blog we will go over when you may want to use an App and how you create an app on the Microsoft Power BI Service.
When to use it
The main reason that you want to share an app is that you need to share a Power BI report external from your organization. Yes, you can share an app external from your organization! This is a fairly simple process that uses any pre-existing reports or dashboards and shares them to whoever you choose.
Here are a few reasons why you may create an app:
- You want to share a report external from your organization.
- You want to share a report with someone without giving them any permission.
- You want to post a report on an open access website. (To see a demonstration of this go to POWER BI DEMONSTRATION : :: Welcome To EPM Strategy :: )
The only downside to using an app is that they do not automatically refresh your semantic model. I’ll show you in the Walkthrough section below, but you need to manually update an app.
Walkthrough
This feature is only available in a workspace on the Power BI service (app.powerbi.com) , and you need to already have your report or dashboard ready before you start taking these steps.
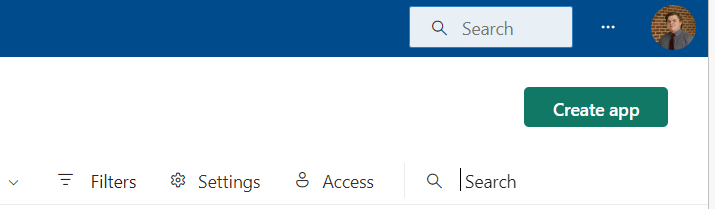
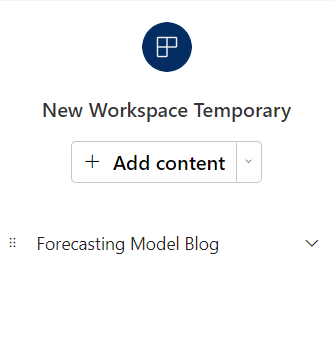
To start we are going to go to our workspace and identify the reports or dashboards that we want in our app. This will help you later once we start building the app. If you want to, you can scroll to the right and hit the slider that is under Include in App. This is not necessary, but is just another way of saving time.
Next you can click on the big button in top right that says, “Create App”.
In this view you will see that you have three different steps. These are the Setup for the App, the Content you want to contain in the App, and finally choosing your Audience (People you are sharing to) for this App.
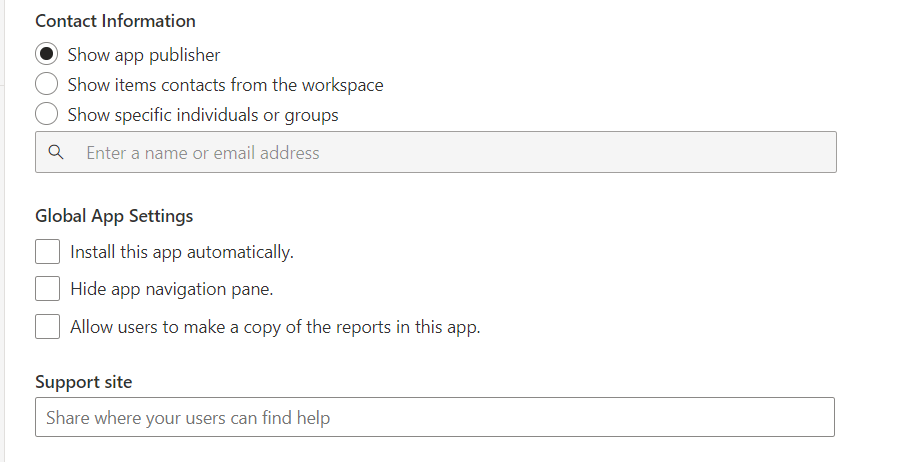
In this Setup view you can change the name, description, logo, theme color, and some of the information on how to contact the owner of this app, and some other settings that you may find important.
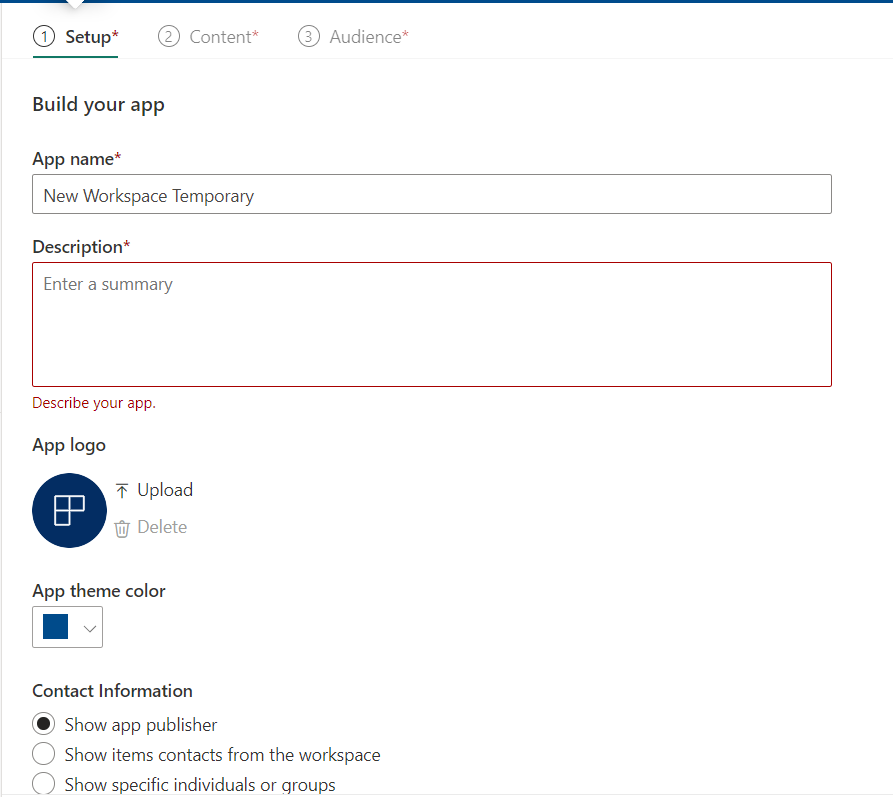
In the Global App Settings, I like to check the “Install This App Automatically” option. This will make it easier for people that you are sharing to find this app. Note: If you are sharing with a large group, you should not check this box because of spam issues. I will show you later how to find the app if you do not check this box.
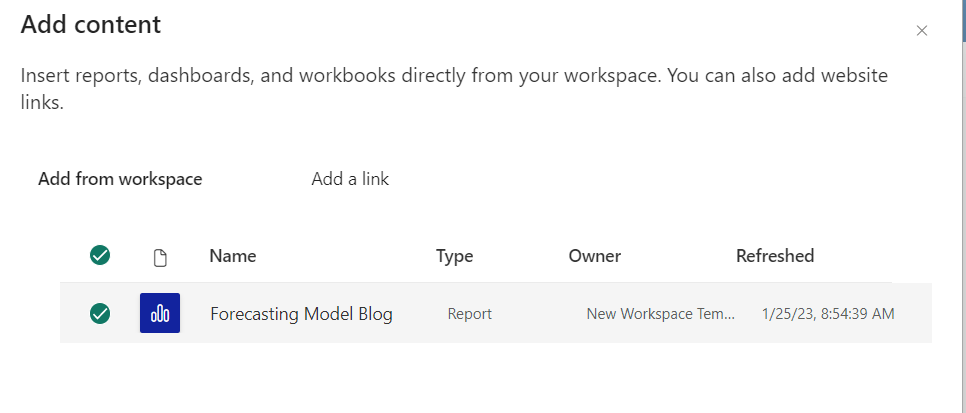
Once you fill out the information for the Setup page, you can go on to the Content page.
In this page, you will be adding any of the reports or dashboards that you want to from this workspace. All you need to do is click the Add Content button. Then check the reports or dashboards that you want to add.
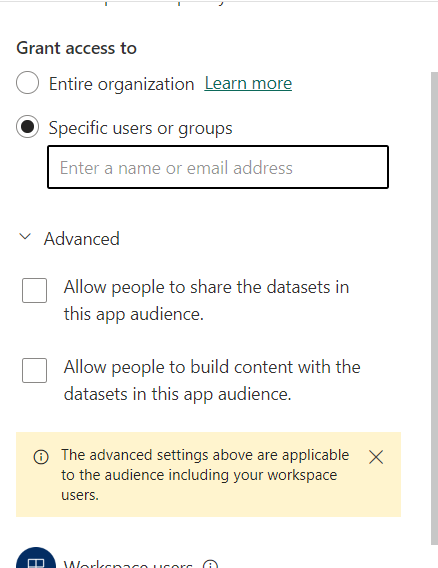
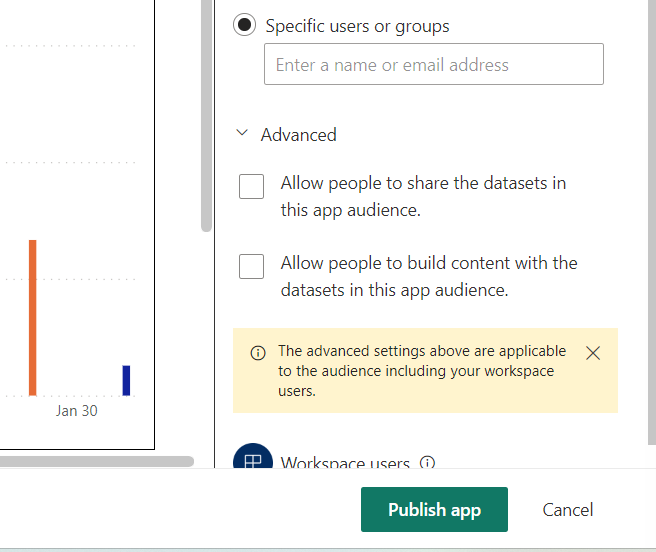
Now we can go to the Audience page. In this page you will be able to add the people that you want to share with. This page has a lot of great aspects that you may want to spend some time going through. You can click the “+ New Audience” at the top to create a new group to share with; you can choose to hide a report of file by clicking on the eye icon next to the file name; you can send the app to an entire organization or to just specific users or groups; and under the advanced dropdown in the Manage Audience Access you can choose how much information a user can access.
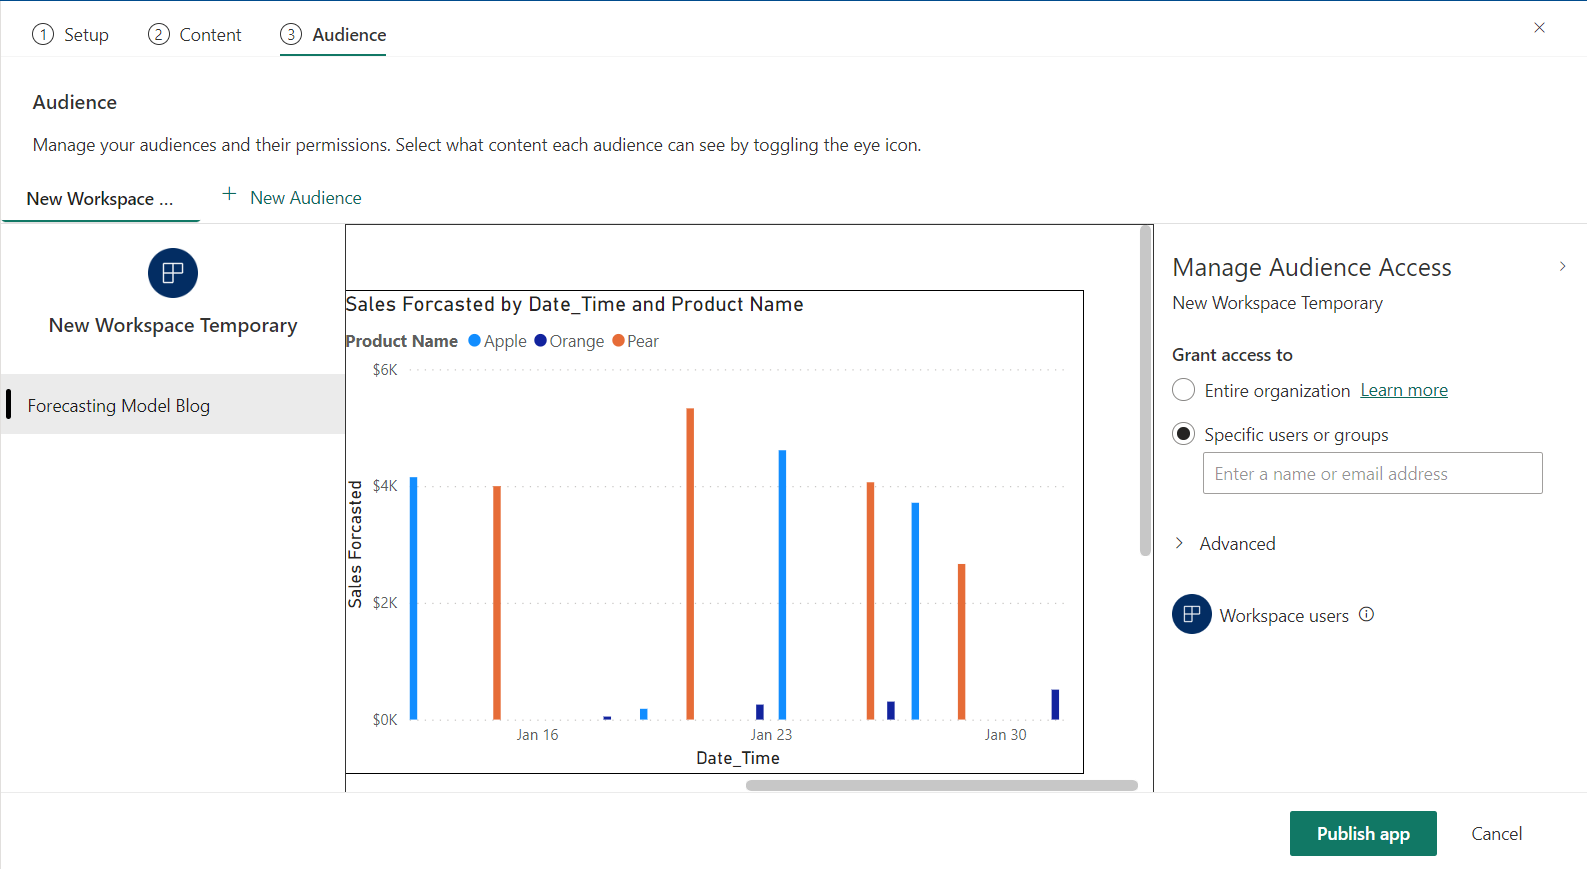
In order to add members to an app, you just enter their name or email in the Manage Audience Access pane. Note: If you check either of the advanced options, check with your IT department that you are not violating any company practices. Checking either of these boxes can give your user access to important company information that you may not want shared.
Once you are ready go ahead and hit the Publish App button. I highly suggest reviewing each of the pages in this App because you will be sending this app externally and may not have control of where it can go after you hit this button.
Once you hit this button, you’ll be prompted with a pop out that says it may take five to ten minutes to publish this app. If you are internal to your organization, it will most likely take less, but this is just in case the people that you are sending the app to do not have an easy way for Power BI to send he app to them (e.g., internet is slow, their computer is slow, firewall restrictions, etc.).

To access this app there are two main ways through the PowerBI.com website. First you need to click on the Apps ribbon on the left side.
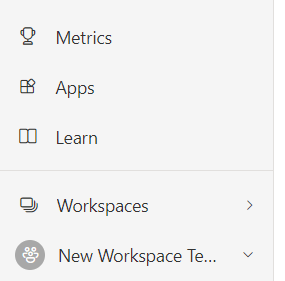
Then Identify whether your app was automatically placed in the list, or if you still need to go and get it.
If you still need to go and get the app, in the top right of your page, click on the Get Apps button. This will send you to a page that contains any apps you have access to. In here are a lot of apps from Microsoft and some apps that may be from your organization.
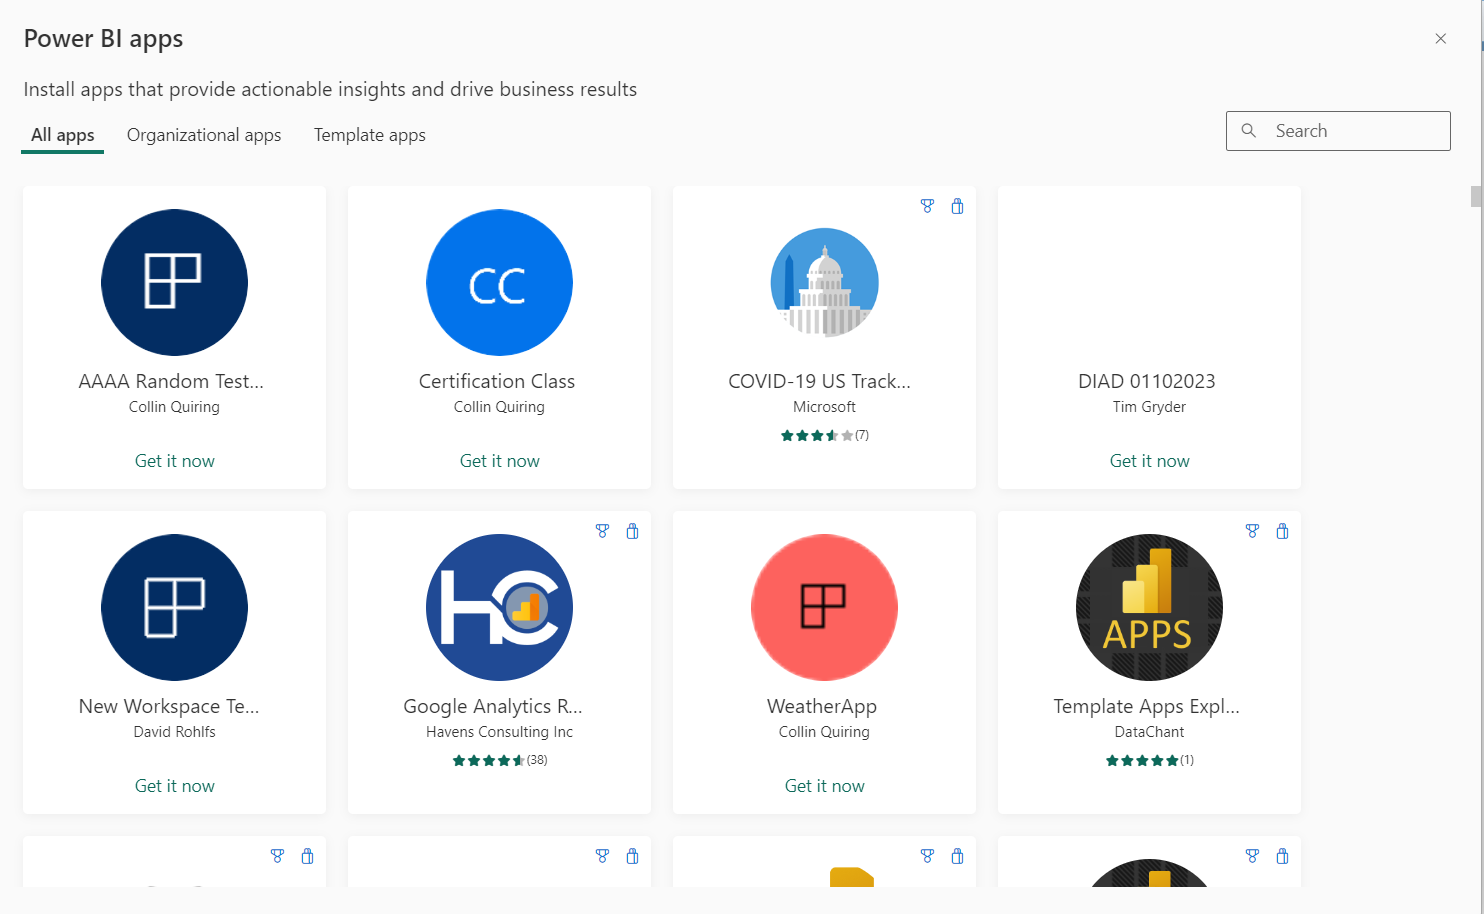
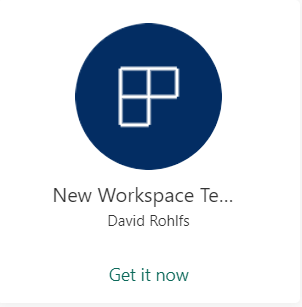
Now you can find your app and click on the Get it Now option. Then it should be sent to your Apps page from before.
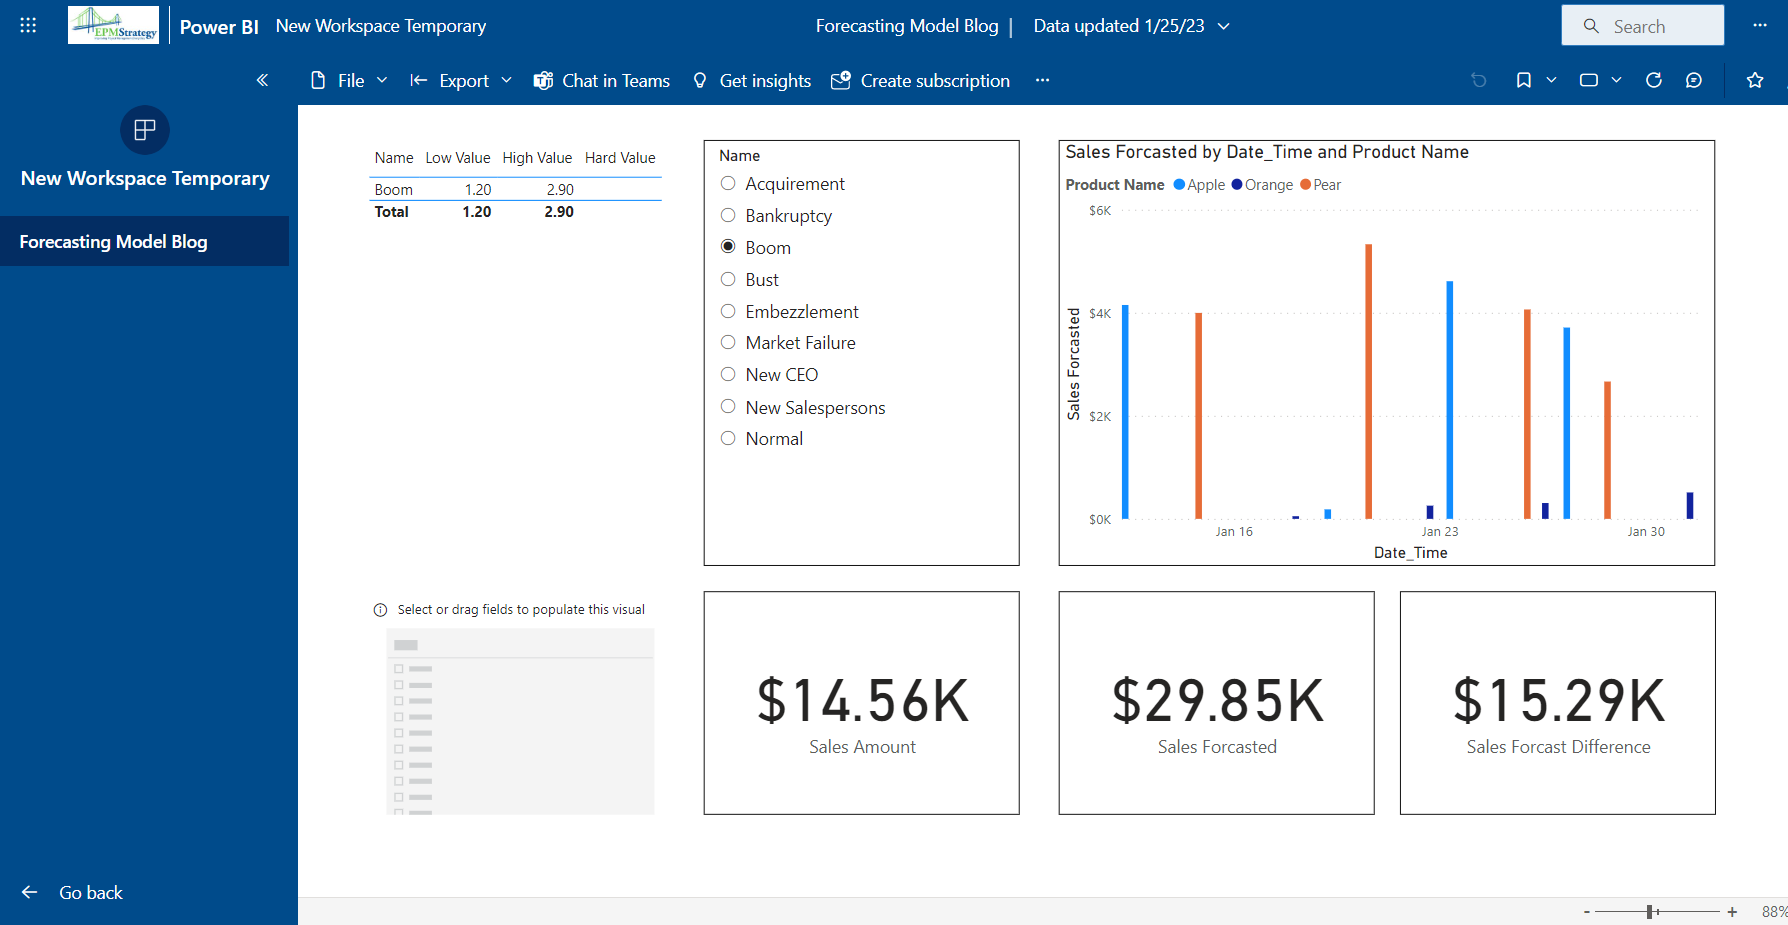
Next, you should go in this app and explore what you can do. This will give you a good sense of what a user with access to this app is able to do.
Now we get into the problem of why an App does not automatically refresh with your semantic model. This is mostly for security reasons, and it isn’t hard to keep up with. To update your app, all you need to do is click the Update App button in the top right of your workspace (Where your create app button was previously) and go to the end where it says publish app. In doing this you are resetting the semantic model for this app and effectively refreshing the data.
Conclusion
Hopefully this blog helped to explain some of the benefits that you can gain from creating an app and some of the steps that you need to do so. Just remember that the main goal for using an app is to go external from your organization. So, if you are only doing internal, I suggest you read through the Adding Members to a Workspace blog below from EPM Strategy.
Links:
Power BI – Creating a Workspace
Power BI – Apps, Workspaces, Dashboards, Reports and semantic models Defined :
Adding members to a workspace blog
Comments
One Response to “ Power BI: How to Create an App on the Microsoft Power BI Service ”
[…] Power BI: How to Create an App on the Microsoft Power BI Service […]
Leave a Reply
You must be logged in to post a comment.