Power BI Bookmarks
BY: David Rohlfs
Introduction
Bookmarks are a great way to advance your knowledge in Power BI Desktop. Using bookmarks, you can create links between pages that let your end user jump to other pages. This is very helpful because it allows the report builder to create a homepage, reference button, or highlight the main pages of the report.
When to use it
Bookmarks allow the end user to jump between pages. This can become very helpful if you use drill through pages, notes pages, or just want to clean up a report. A great way that bookmarks are used is by creating home pages (See Walkthrough Below). Using homepages allows for a report builder to create links between pages and create a story for the end user.
For the reports that I use bookmarks in, it is often because I want to hide a page from selection in the Power BI online service, so that a user only has access to them from the pages that I put the bookmark in. This can be useful if you want the report to show a story and go to specific pages from a specific page.
One aspect of bookmarks is that they save a page at a specific time. For instance, if you bookmark a page with specific filters and slicers active, the bookmark will stay that way until you update the bookmark. If you do plan to use bookmarks keep this in mind because they will not automatically update when you change a page.
Walkthrough
For this walkthrough we are going to build a simple Home Page, then a reference page. In doing this we will go through the process of creating the bookmarks, formatting a button to be a bookmark, and creating a reference page that the bookmark links to. After creating our pages, I will publish a copy of this report so that you can see how bookmarks work in Powerbi.com.
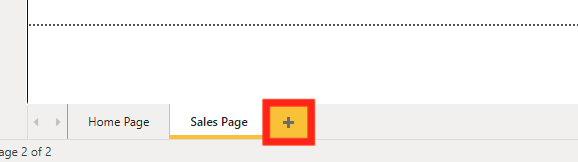
First, we are going to create a “Home Page”, and a “Sales Page”. To do this click on the yellow plus sign at the bottom of your screen and rename the pages to your home and sales page. I suggest making the home page the Page 1 slot because it works better once you publish your report.
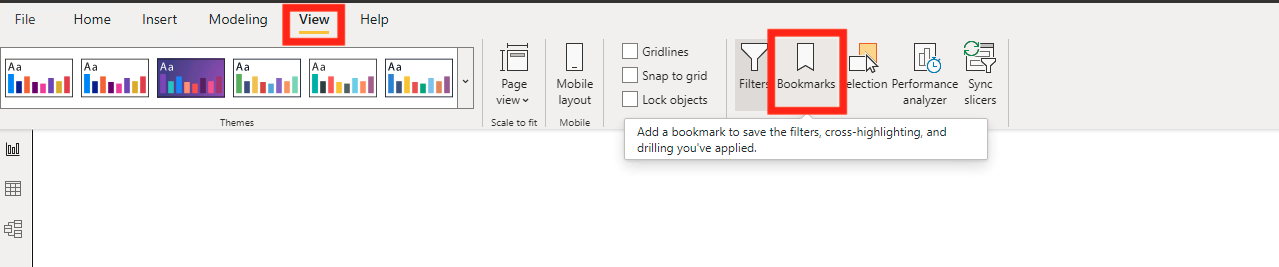
Next, we are going to go to the “View” tab on the top ribbon and click Bookmarks.
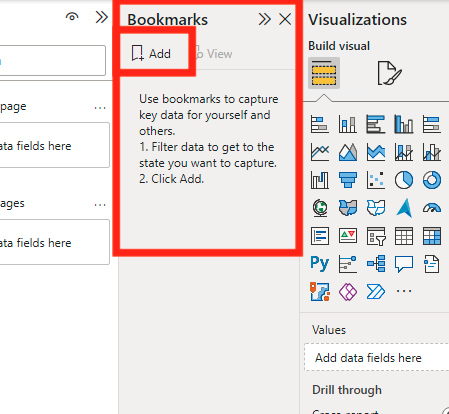
After clicking bookmarks, you should see a Bookmarks tab pop open next to the visualizations tab. In this click on Add to add a bookmark.
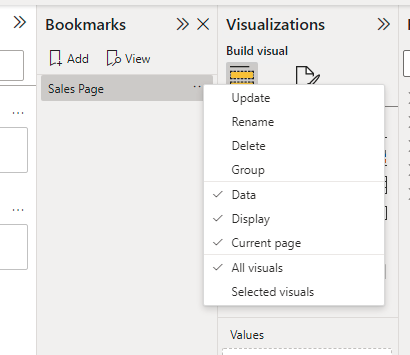
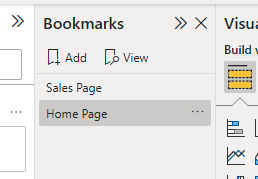
This will create a new bookmark. If you click on the ellipses, you can rename, update, delete, or group the bookmark. I went ahead and renamed the bookmark to Sales Page because that is the page the bookmark will send me to.
Before moving on, I am going to go back to the home page and click on the bookmark. If I have done everything correctly, the bookmark will send me to the sales page once I click on it.
Once you have verified that your bookmark works, we are going to do the same process for the home page.
Now we get to the fun stuff. We are going to create a button that hooks to the bookmark so that we don’t need to have the bookmarks page open.
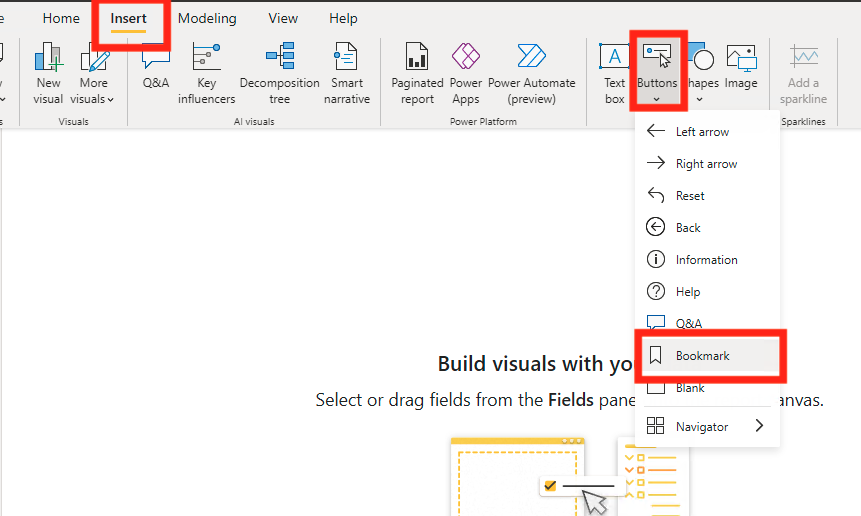
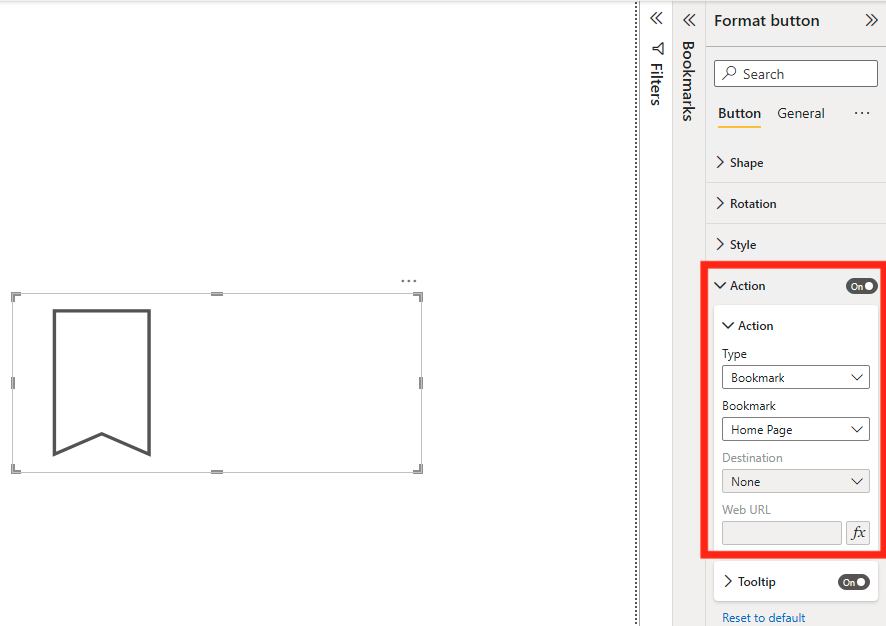
First, we are going to click on Insert, then button and choose bookmark. If you want you can choose a blank button, but you will need to format the button to act as a bookmark.
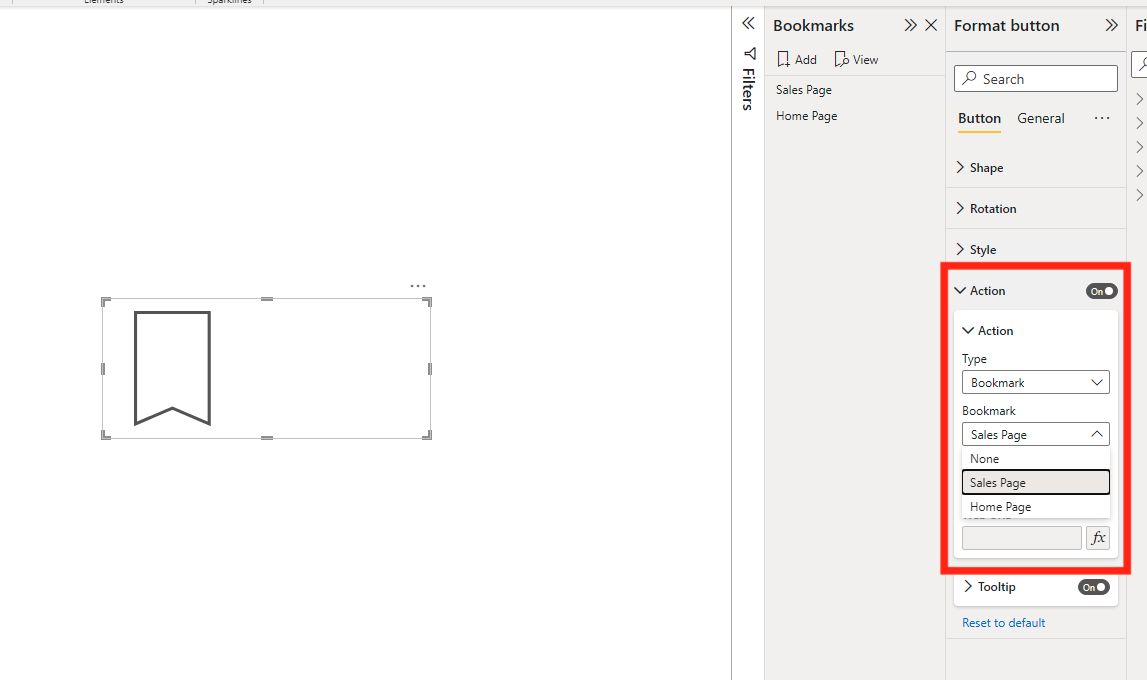
For this report I am making the bookmark bigger and centering it on the home page. (The bookmark will appear in the top left corner of your report.) Then going into the visualizations and formatting the button to choose the Sales Page. Often, I would be placing multiple bookmarks on the home page, but for now one is just fine.
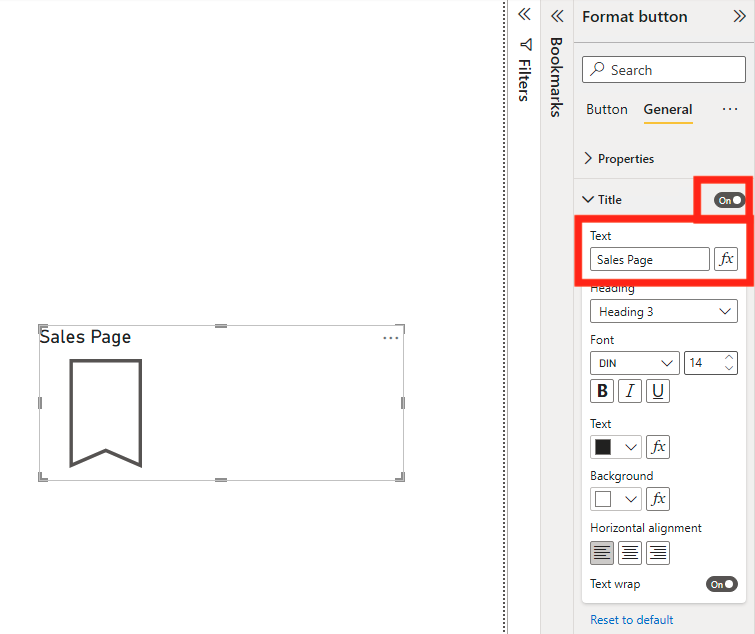
Now we need to name the bookmark so that the end user knows what page they will be sent to. To do that we can choose one of two ways. Creating a title for the bookmark or creating a text box. The first example will be using the title.
To create a title, you will need to be in the visualizations pane. And click on general. Then you will see a title dropdown. Click on that and turn the title slider to On.
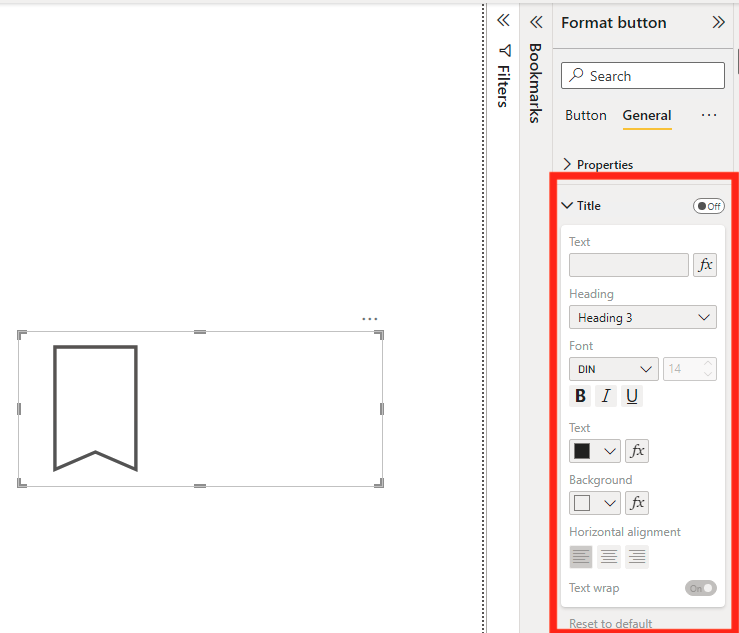
Now you can enter the text that you want appearing above your bookmark. I am going to name this bookmark “Sales Page”.
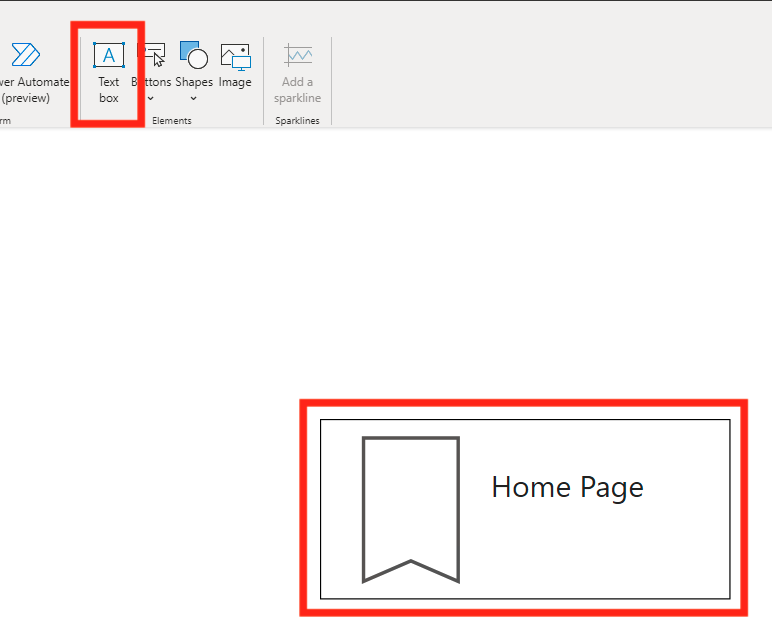
For the second example, we are going to be in the sales page and create a bookmark to the home page. To start go ahead and create a button to the home page.
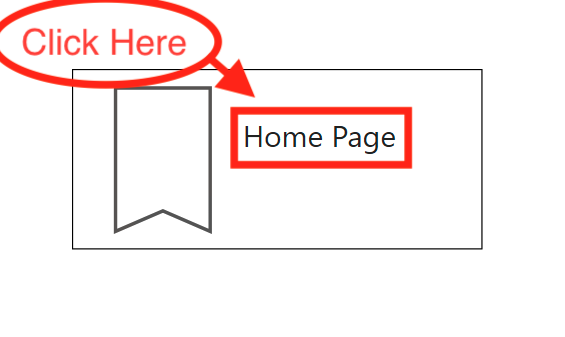
Next, we are going to insert a text box on top of the button’s white space. (You will need to resize the button). In the text box we will write “Home Page”. (I put a border around the button so that you can see the edges of the button).
Next, we need to push the text box back so that you and your end user won’t get frustrated with the button. To do that we will click on the text box, click on Format in the top ribbon, and select send backward.
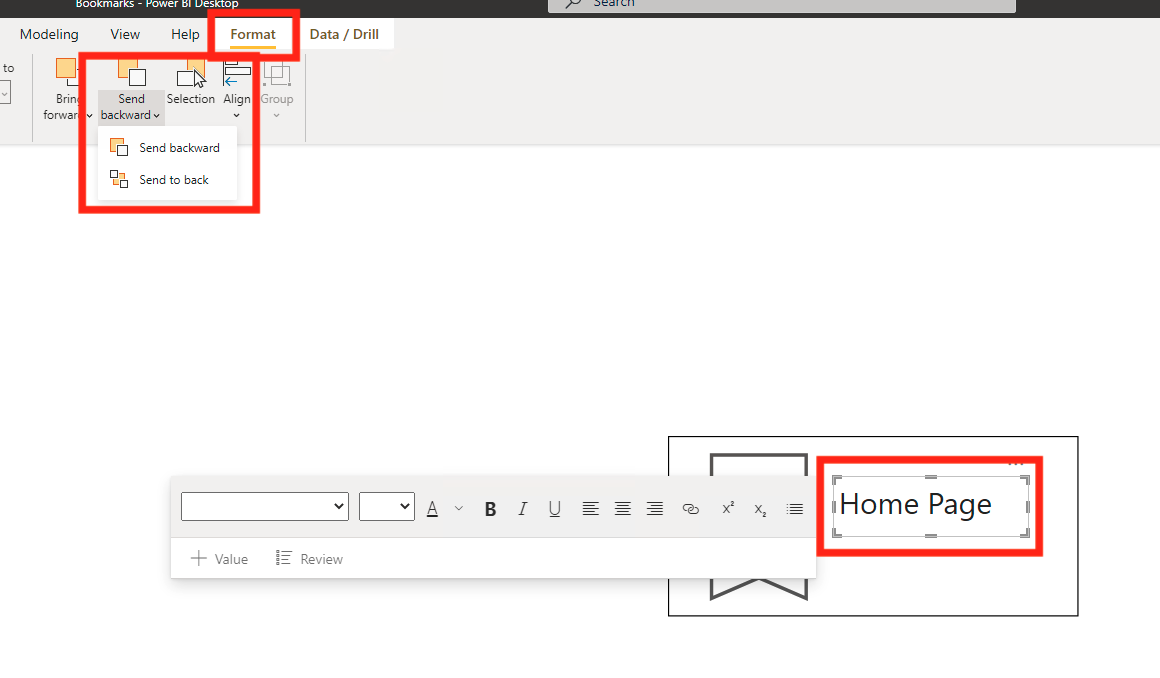
To verify that your text box is now behind your button, Control + Click on the button above the text box. This should take you back to your sales page.
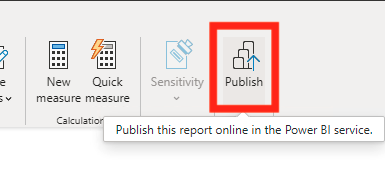
Now we are going to publish the report so that you can see how a bookmark works in PowerBI.com. To do this I am clicking Publish, selecting the workspace I am publishing to, and clicking Select.
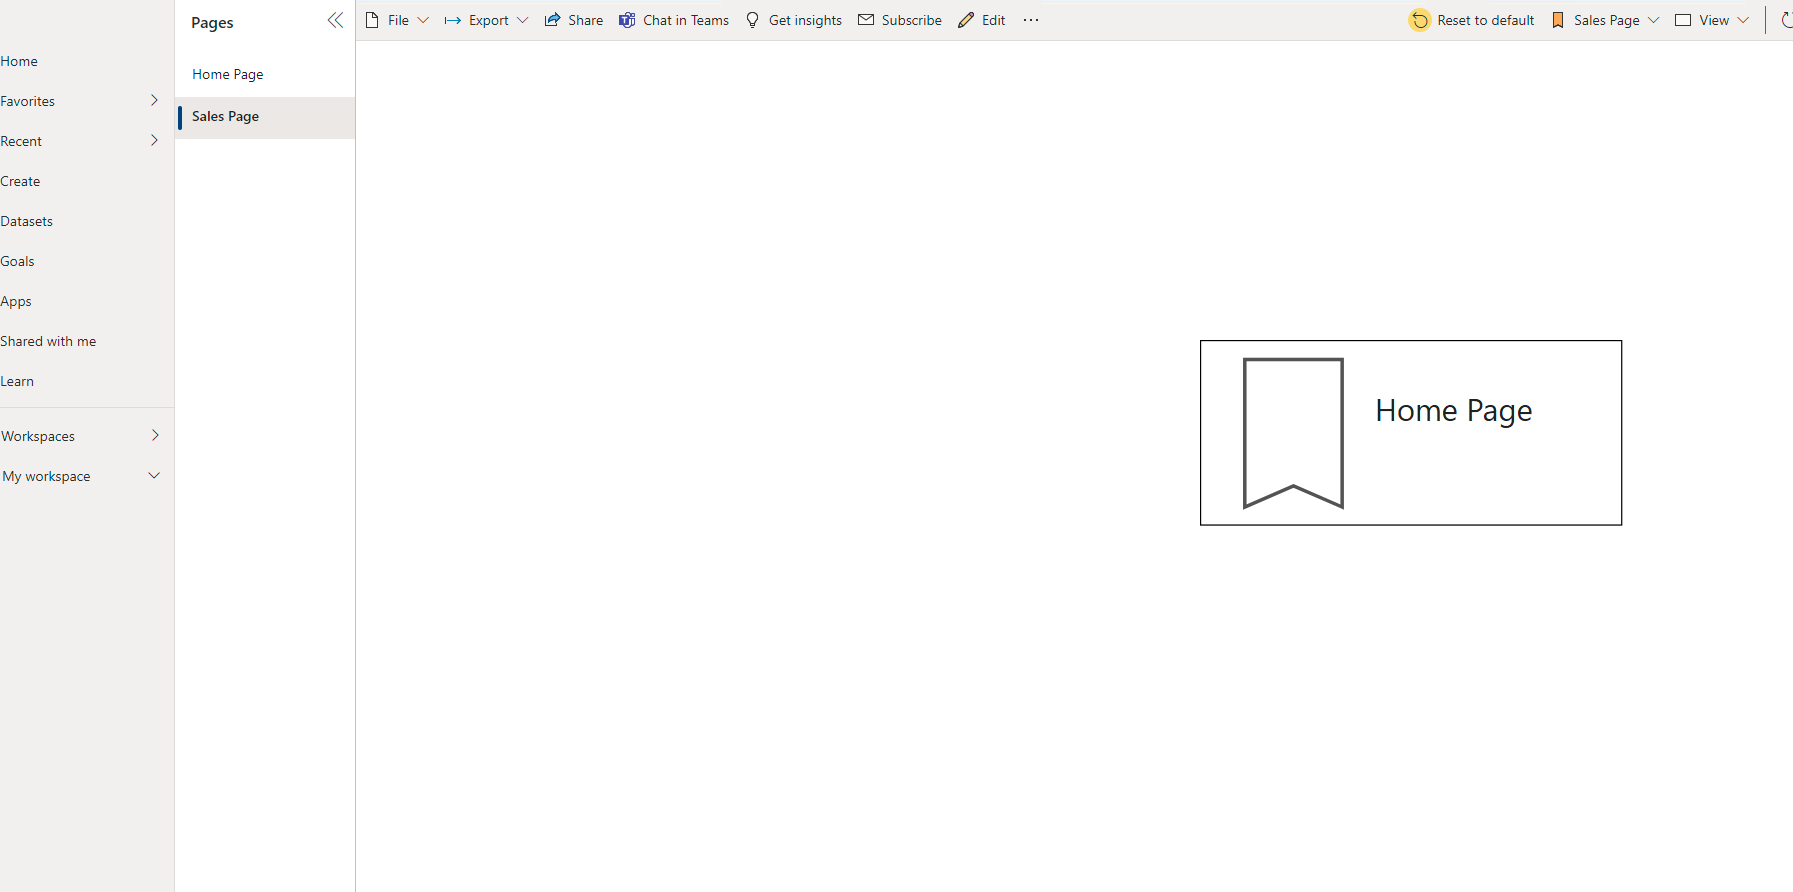
Once the report has been published you can click on the prompt that takes you directly to your report on the Power BI Service or go to the website and find your report manually.
Once in the Power BI online report, we can test the button and see how it works. Unlike the desktop version, we only need to left click on the button, not control click. Doing this will let you jump between the pages that have been bookmarked and allow your end user to do the same.
Conclusion
We have learned about what a bookmark is and what it can accomplish. In the walkthrough we went through a simple way of setting up a bookmark and a button attached to the bookmark and created titles for the bookmarks. Finally, we saw how a bookmark works in a published report. This walkthrough is very simple but covers a lot of what a bookmark normally does. There isn’t too much to this function, but you can have more fun with it if you start adding extra steps to the process.
Comments
One Response to “ Power BI Bookmarks ”
[…] Power BI Bookmarks : :: Welcome To EPM Strategy :: […]
Leave a Reply
You must be logged in to post a comment.