Power BI – Adding A Custom Column
BY: David Rohlfs
Introduction
When you work in Power BI you never have everything that you need. It is very common to need to add your own column and learning to do so can be difficult at first. There is a lot of knowledge that you need to learn before hand on how to develop an equation to use the functions that you need and get a column that is correct.
In this blog we are going to go over two different ways to add a column into a query and why you may want to choose one option over the other.
When to use it
There are two basic methods of adding a custom column in Power BI. The first is to use the built-in function which is easier for beginners and works very well. The second is to learn the M Code behind creating a new column and get a little more flexibility in how you create your report.
Using the built in Create Custom Column function in Power Query tends to be a lot easier for beginners and is a good introduction to M Code. Using this function allows a user to focus on a portion of the overall code and disregards some of the necessary information that will be entered automatically by the function once the step is created.
Creating your own M Code is an option that may be more viable if you already know some M Code, or you feel comfortable in Power BI. To learn more about M Code, I suggest reading through EPM Strategy’s blog on M Code Basics linked below. If you do choose this option, it is likely because you are comfortable with being in the advanced editor and that you may already be there.
Ultimately, choosing one method over the other is due to your preferences. This is one of the few areas that each method is similar difficulty an requires a similar level of knowledge (Even though the second method is slightly more difficult).
Common Problems
A common problem is that you are missing an “each” phrase in your code. If you are missing this phrase, you will find that there are error codes, or you are just getting a single answer between all your rows. Normally this will happen when you are putting a subsequent step in your column statement. For example, here is an invalid equation and the correct equation respectively:
![]()
![]()
Walkthrough
In this walkthrough we are going to go through the two methods to add a new column. The first method will be on the Power BI function to Add a Custom Column. This will be entirely in the normal Power Query view. The second method will be in the Advanced Editor and use M Code to create a new column.
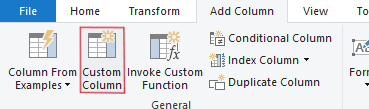
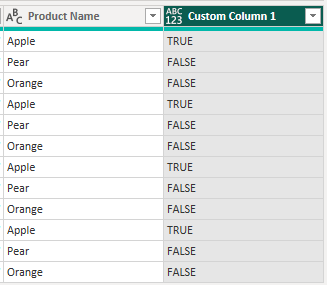
For the first method, make sure to have your query selected and go to the Add Column ribbon. Then you can click on Custom Column.
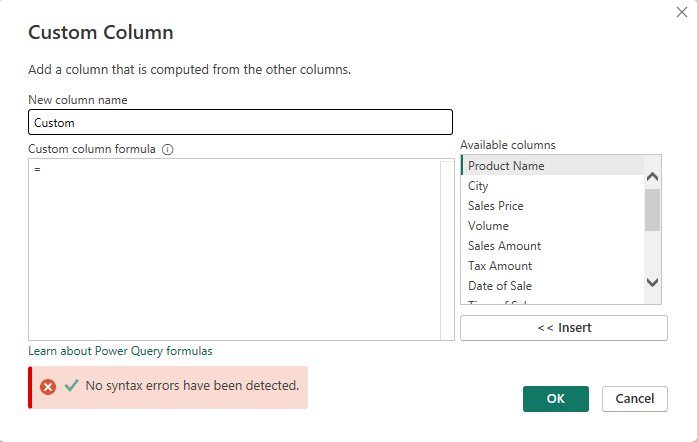
Now you should see a window pop-out that looks like this. In here you will have a spot for the title of your new column, a spot for your code, and a space for the pre-existing columns in your query.
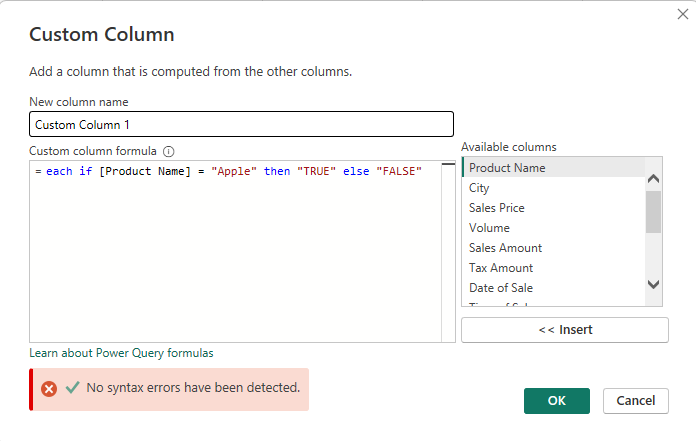
To create your column, you will need to know some simple M Code to fill in your equation. Although you still need to know whatever function you are going to use, this is still a lot easier to learn than learning how to code in M because you will get tips of what your equation should look like. For this example, I am just going to create a column that uses an if function and responds True if the parent column is Apple.
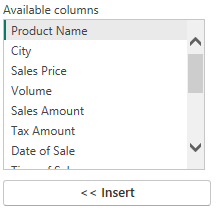
Notice that you can add in parent columns by selecting the column in the Available Columns and click Insert.
Once you have your equation ready and you see that there are no syntax errors, you can click the OK button and your column will be created. Then you can go and look for your column at the far right of the query you were working on.
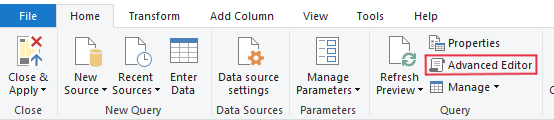
For the second method using M Code, you will need to go to the advanced editor in the home ribbon.
This is where you will need to know what you are doing. If you have not worked in M Code before or need to learn some of the basics, I highly recommend reading through the M Code Basics blog linked below. This will give you insight into why I am doing what I am doing.
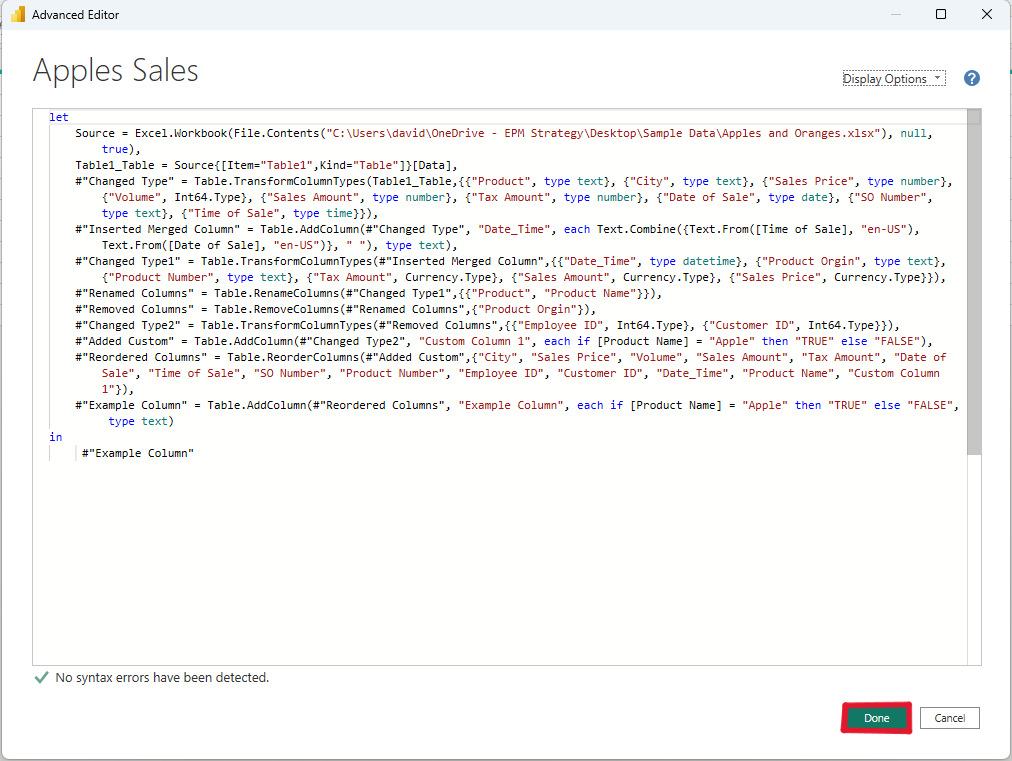
The code that I am going to write in will look like this:

You can see that the function that I am using is Table.AddColumn()
The syntax for this function is this:
#”Step Name” = Table.AddColumn(#”Previous Step Name”, “Column Name”, Column Equation, Column Type)
One thing to note is that you will likely need an “each” phrase in your Column Equation. Look at Common Problems to learn more.
Once you have your equation written, check that there are no obvious syntax errors and click Done in the bottom right corner of your advanced editor window.
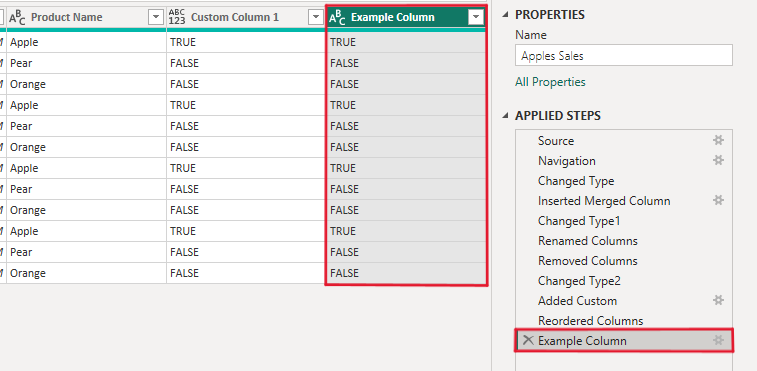
Now you should see the new column appear to the far right of the query you were working in along with the new step in the Applied Steps pane.
Conclusion
These methods for creating a new column in Power Query are both complicated, but together they add a lot of power to a report builder. If you did find both methods too difficult to do, I suggest looking into the Column From Examples function (blog link below). Being able to create your own columns is difficult, but as you get farther into creating your reports and semantic models, you will need to master this ability.
Links Related to this Article:
Power BI – Power Query M Code Basics : :: Welcome To EPM Strategy ::
https://epmstrategy.com/column-from-examples/
Comments
Leave a Reply
You must be logged in to post a comment.